
Matrix is a fun and exciting federated protocol that we’re using more and more at /tmp/lab.
If you want to join the discussion, head to our riot channel and check it out!
Riot is a well-known web GUI for the Matrix protocol which could be defined as “a chat interface between IRC and Slack”. It’s cooler than IRC to some extend – backlogging is easier- and it is free software, not like Slack 🙂 Still, IRC, Slack and Riot have in common a capacity to use bots, and that’s what we’ll be drilling today: Matrix bots. Onward, my mechanical steed!
Note: Our privacy-aware assistance might interject here with some well founded critics of the Matrix ecosystem, which is not free enough as of now. Find here a list of concerns as a github issue tracker for more information.
Anyway, which bot to choose? There are many available bots for matrix and even a page dedicated to them on the project’s website. We chose maubot.
Why maubot?
Well, first, it’s python, which we like. Also, it’s actually well coded: Tulir Asokan -the author- did an impressive work at providing his own implementation of the matrix api which he plans to use to provide a number of bridges. It is modular, meaning that you can extend the functionnalities in a clean manner. And that leads us to hackability, writing your own plugins should be easy with maubot, more on that soon hopefuly.
Deploying Maubot on a server
Though maubot proposes a docker install, we were not fans of that for system administration reasons. So we’ve made an install script in bash you can find in this git project.
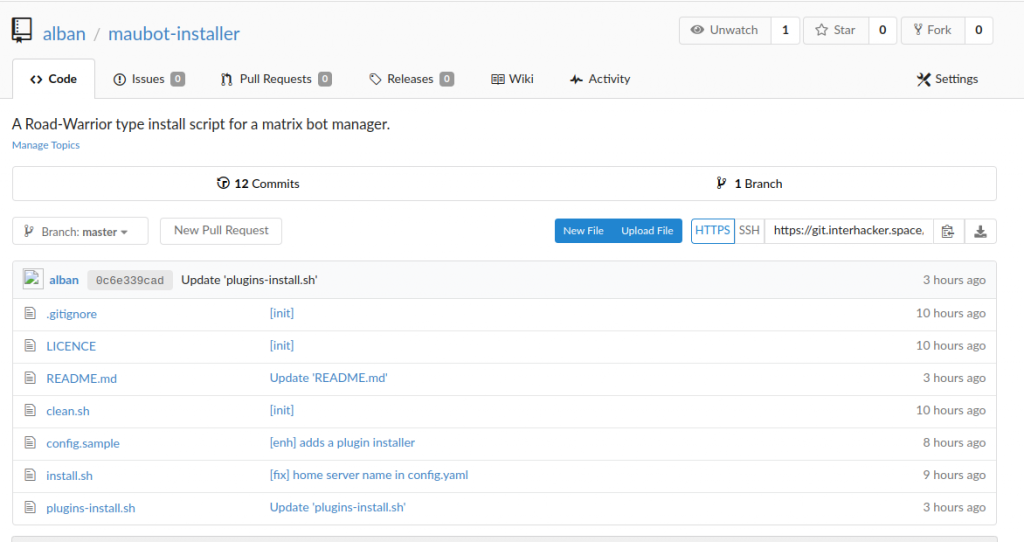
This install script should really simplify your job. Assign in the DNS a subdomain name -say botsinspace.example.com- to your server IP address and the installation should be as simple as
git clone https://git.interhacker.space/alban/maubot-installer.git
cd maubot-installer
bash install.sh
After indicating your chosen subdomain, you can go for default answers, including the matrix.org homeserver, and should be fine for the rest of this tutorial.
Et voilà ! You should have a maubot instance running with Letsencrypt on https://botsinspace.example.com
Creating your first bot
Once the maubot instance is up, understanding the maubot concepts will help you configure it.
Plugins
Plugins are the bots “brains”. They are python code and configuration files, ran in background by maubot. Ther are stored on the server as mbp files, which are archives using a zip compression.
Clients
Clients are the bots “physical presence”. They are in fact user accounts on matrix servers, no more no less.
Instances
Instances are associations of a plugin and a client. Once you have an instance, you have a bot!
So let’s start creating our first instance!
Add a plugin
The project page lists a number of plugins based on the maubot framework.
To install a plugin, you have two options.
Option 1. Use the web interface
Log in your maubot instance, click on the plugins “⊕” button. A big UPLOAD button (cf. screenshot) shows up, click on it, select a plugin zip file on your disk, and there you go !
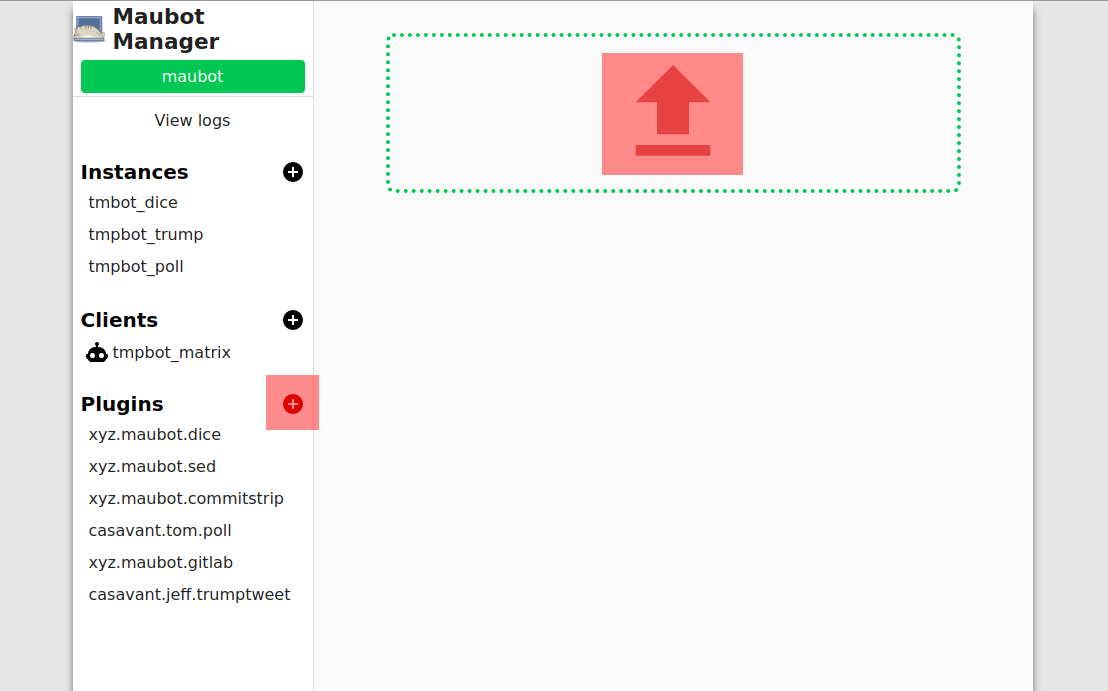
Easy right?
Well except one thing: where do you get that zip file in the first place? From the github “Get a zip copy of the project” button of a plugin page? Well, nuhuh, nope, that won’t work. Maubot will reject that zip file. Why?
The github zip file contains the file “in a directory” called “$projectname-$branch” and maubot expects files to be at the root of the zip archive.
So, the right way to go is:
٭ Download a zip file from a plugin repository home page
٭ Extract it locally
٭ Enter the newly created directory
٭ Select all its files and sub-directories
٭ Create a new zip archive with these
٭ Upload that zip file to maubot.
Or if you will, plugins might available as “mbp” files in the “release” section of their github page. Sadly, they’re not always up to date, so you might be left with a manual job to do.
Option 2. Use the command line interface
Well seeing this could be a bit complex and annoying to repeat we came up with a script in the “maubot installer” project, called plugin-install.sh
You will need to use a config file or edit the variables at the beginning of the script for it to work though.
Once you’ve done it you just have to
٭ Run the script
٭ Select a plugin in the list
٭ Login (once only) with your maubot user and password
٭ And the script will call the “mbc” executable provided by maubot.
It is worth mentioning that some plugins might require a few additional dependencies. For example the trump plugin required to run an install command in the virtualenv of the project:
cd /opt/maubot
source bin/activate
pip install Pillow
But now, you should have at least one plugin available. Let’s head to the next stop.
Add a client
We won’t cover here the run-your-own-bot-factory approach, which requires running your own synapse server, in other word running your own matrix instance. So we will create an account on an existing server and retrieve its token used for interacting with the API.
We will use the default web interface https://riot.im/app and request a free matrix.org account.
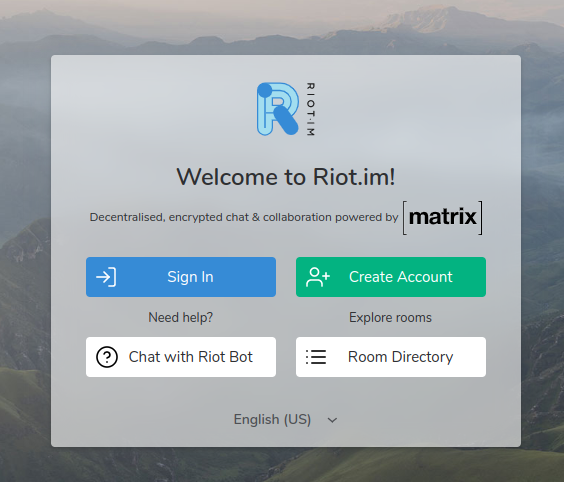
You have to pick a username, for example rook_the_bot, which will provide a matrix identifier/address such as “@rook_the_bot:matrix.org” after creation.

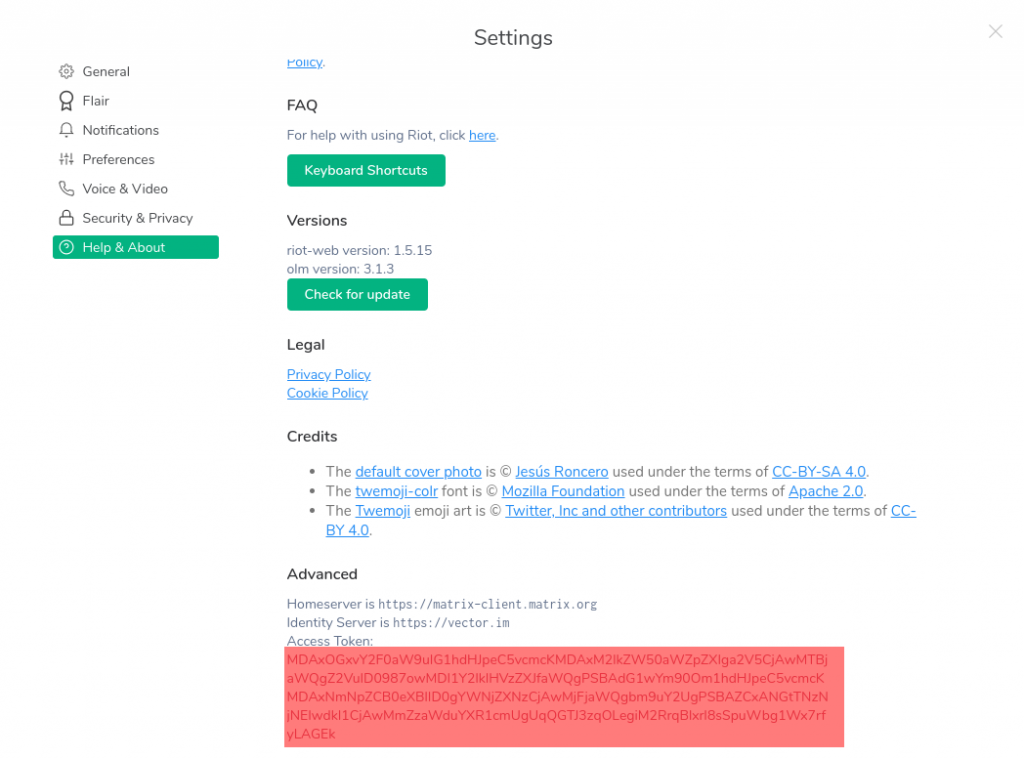
One your mail is validated, log in the web interface and head to the settings page to retrieve the token.
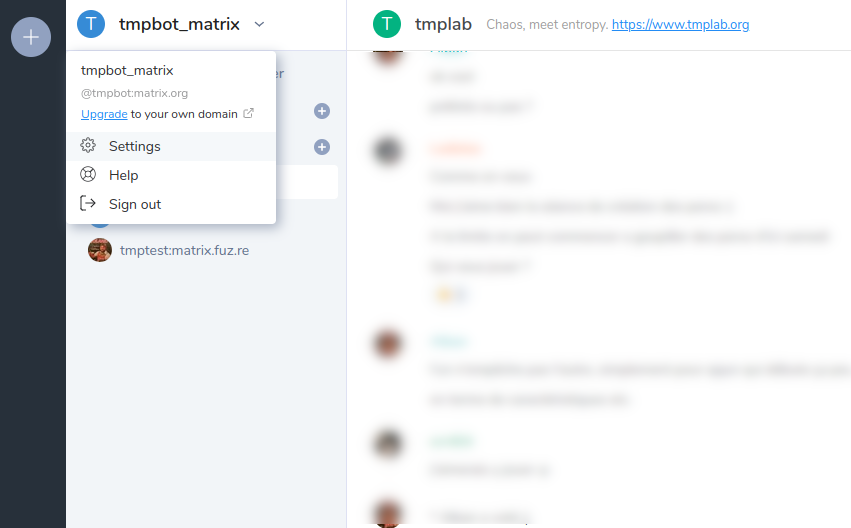
You will find it token at the end of the “Help & About” page: click on the <click to reveal> link, and copy the string that appears.
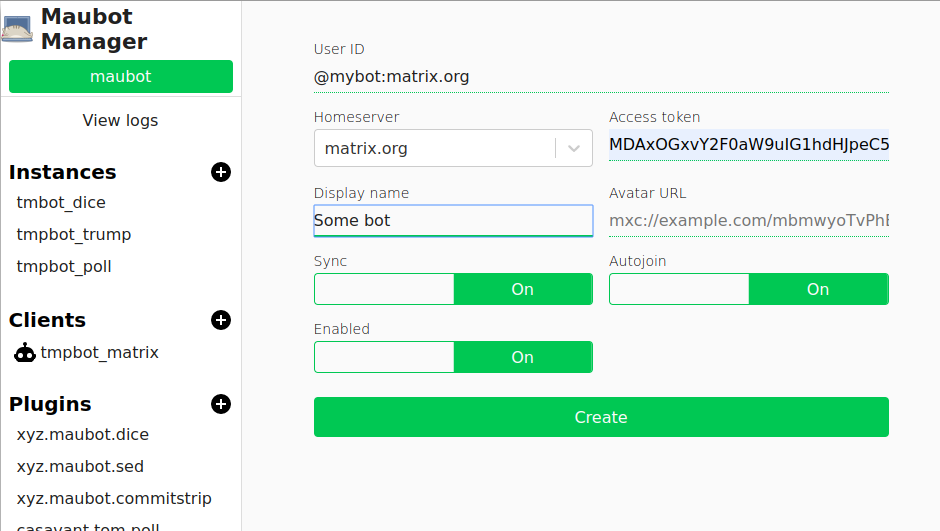
Time to head back to your maubot instance, and click on the Client “⊕” button. Fill the requested informations : the username you created and the access token are mandatory. Validate.
And that’s it. You’re ready for the last stage.
Add an instance
Head your maubot instance and client on the Instances “⊕” button.
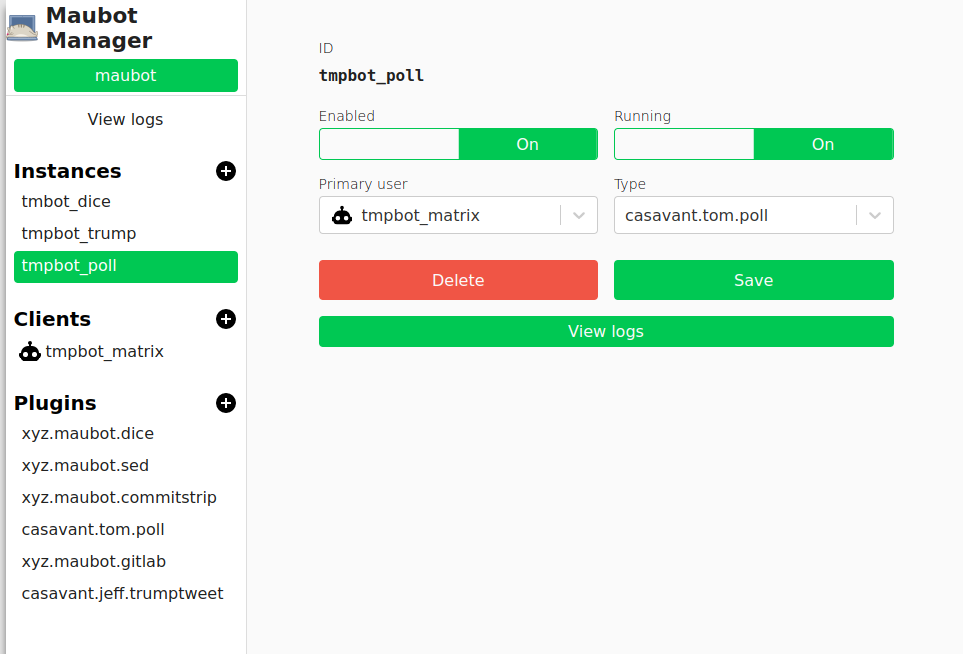
Just pick a client and a plugin before validating.
And now you should have your first bot ready! Congratulations!
How to use your bot
Now if everything went well, you should be able to invite your bot in a room, using the matrix handle you created earlier, as in our example rook_the_bot@matrix.org.
Let’s say you created an “Instance” associating the dice “Plugin” to the rook_the_bot “Client” .
Once you invited rook_the_bot to your channel, simply type a !dice command. Your bot should after a while reply to you.
Each plugin has its own commands, and you can attach multiple plugins to a single client. But all commands use the front ! mark.
That’s it, have fun. And for questions or anything else… see you on matrix!